A friend of mine asked how I make flower pins, so I thought I'd share that process with you. They're so easy to make and make great gifts.
First, you need the following materials:
- felt
- thread and needle (preferably the same color as the felt)
- buttons
- hot glue and hot glue gun
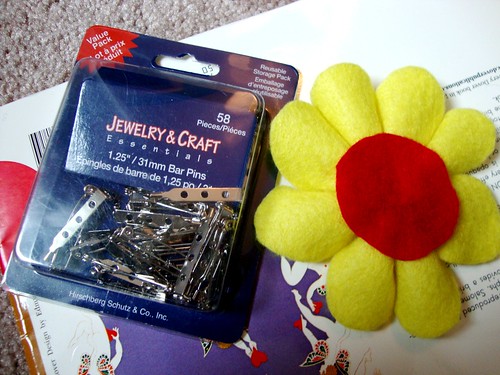
- 1.25" bar pins
- ribbon (optional)
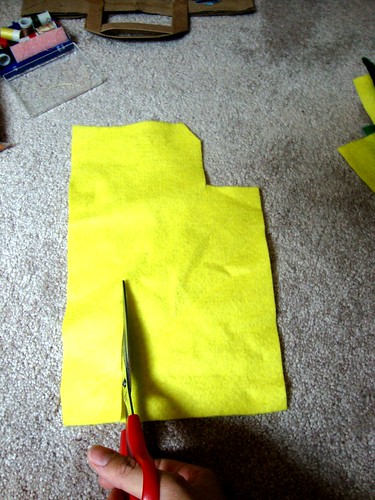
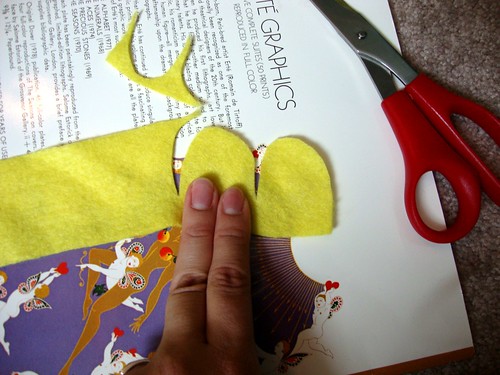
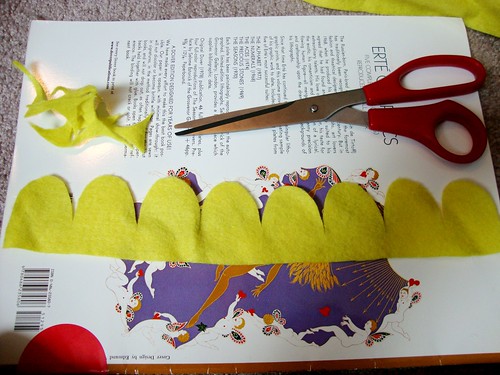
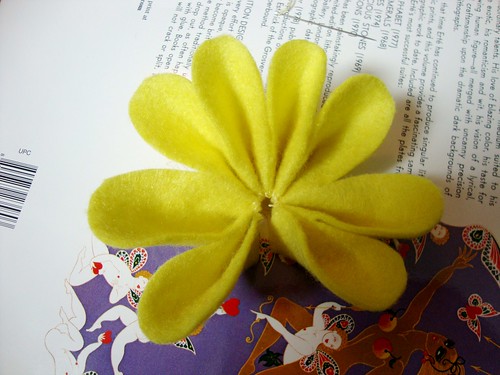
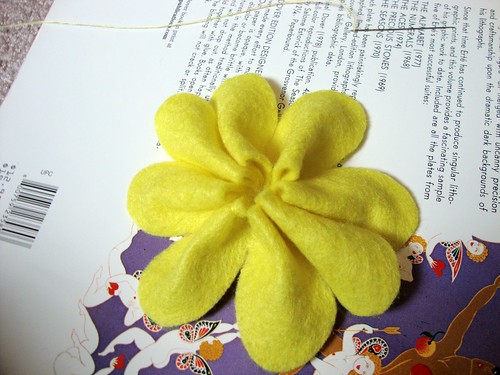
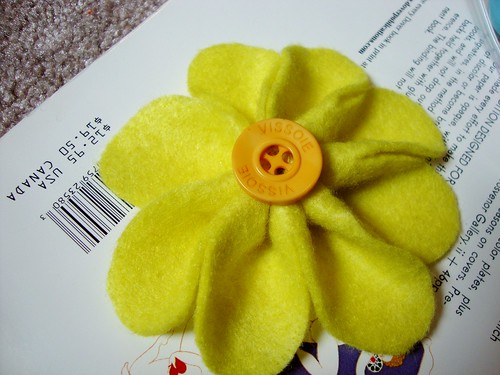
Step Two: Cut your petal pattern. These can be as long or as skinny as you want. I chose this pattern to make a daisy.
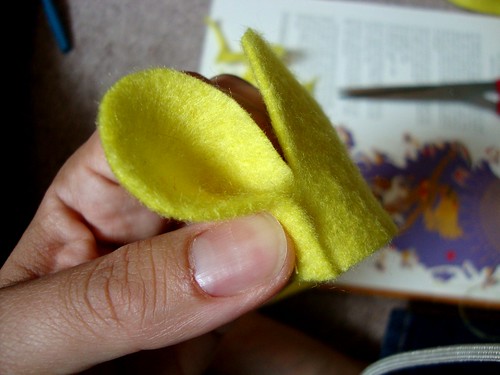
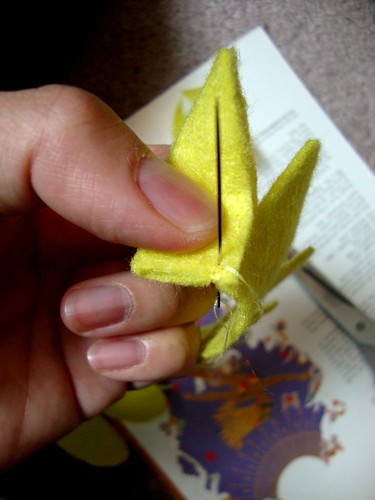
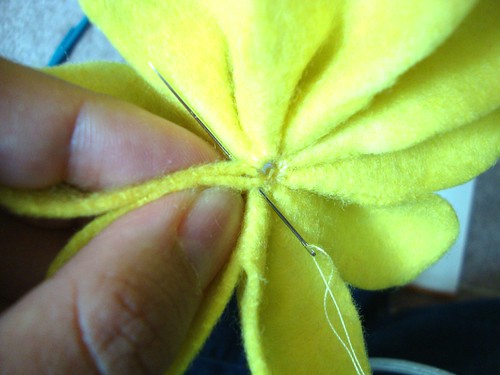
Step Three: Fold the first petal in half and pinch it. Sew the pinched felt at the top. Go to the next petal and repeat. As you move along petal to petal, sew each new petal to the one before it.
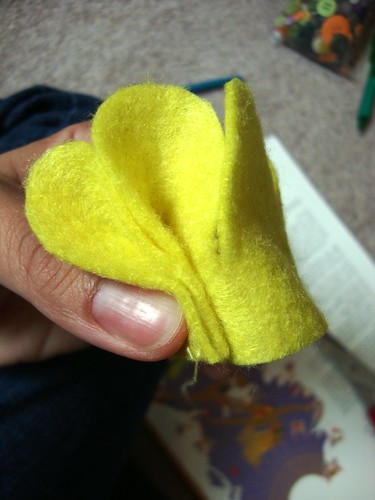
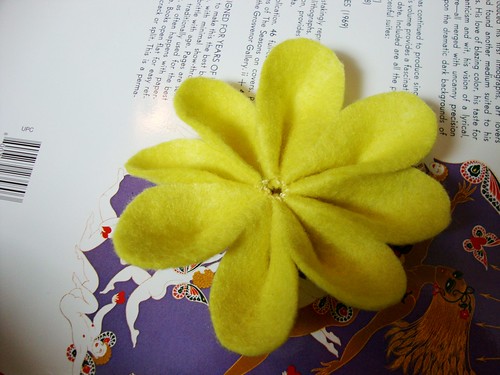
Step Four: Sew the first and last petals together so that your flower is fully formed.
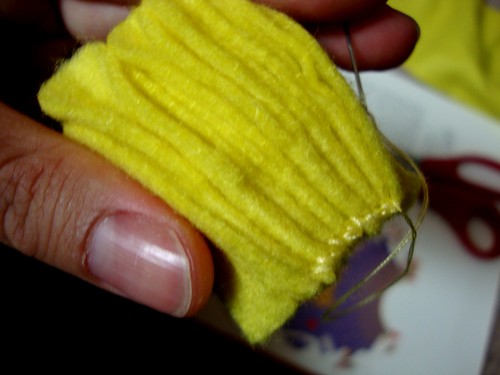
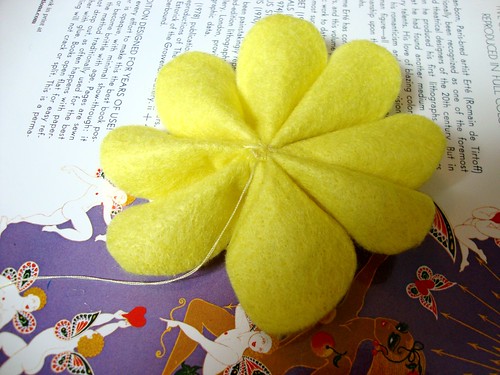
Step Five: Turn the flower over and close the hole by sewing one petal to the petal directly across from it. Continue sewing the petals in a crisscross manner.

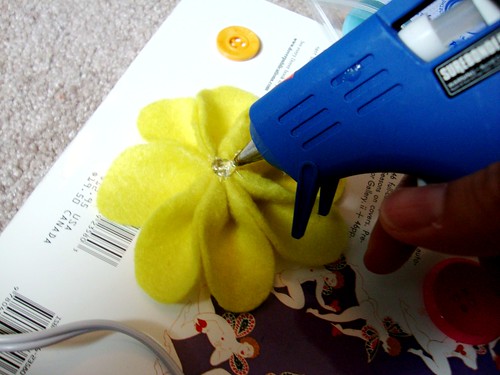
Step Six: Turn the flower back over to the front and select a button to hot glue to the front. Once you have a button, put a small dab of hot glue in the center of the flower. Quickly press the button on top, making sure that some of the glue comes up through the button holes. This will help to provide extra support to keep the button on the flower.


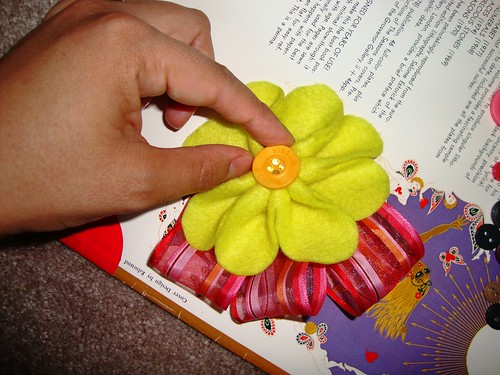
Step Six and Half: If you want to add any embellishments like leaves or ribbon, measure out your embellishments so that they can be seen from behind the flower. If you are happy with the placement, hot glue them to the back of the flower.

Step Seven: Cut an oval shaped piece of felt to cover the back of the flower. (If you have added any embellishments, this piece would just go over the back of the embellishments.) Once you have the piece prepared, hot glue it to the back of the flower.

Step Eight: Get a bar pin to hot glue to the back of the felt cover. Carefully put hot glue on the back of the bar pin, and like the button in the front, push it to the felt so that some of the hot glue comes up through the holes.

Step Nine: Wait for the hot glue to cool completely. Wear with any of your outfits to jazz up your wardrobe and feel like a diva instantly.

"Flowers really do intoxicate me."
- Vita Sackville-West
I love the pin that I made last time I was at your place. Thanks for posting the instructions. I will have to make more in other colors. :-)
ReplyDeleteYou're welcome. I always admire the one you made. Brown and blue - such a good combo!
ReplyDeletedid you or jason take the last pic?
ReplyDeleteI did... You're just... I can't believe... I wouldn't expect anything less from you. :P
ReplyDelete